Kemono fursuits, with their distinct large eyes, rounded features, and anime-inspired expressions, have gained immense popularity in the cosplay and furry communities. For fans of Japanese-style furries and creative DIY projects, making your own Kemono fursuit is both a rewarding experience and a personal journey into character crafting. At MeowFursuits, we support aspiring creators with resources, inspiration, and insights into the DIY world of Kemono fursuit building. In this complete beginner’s tutorial, we’ll guide you through each essential step and share key Kemono fursuit making tips along the way.
Kemono Fursuit
Before diving into the tutorial, it's helpful to understand what sets Kemono fursuits apart from other styles. "Kemono" is a Japanese word that broadly refers to beasts or animal-like characters. In the context of fursuits, Kemono-style suits are inspired by Japanese anime and manga aesthetics. They typically feature:
- Large, expressive eyes
- Soft, rounded facial features
- Smaller muzzles
- Cute, stylized proportions
This style stands in contrast to more realistic or Western fursuits, which tend to prioritize lifelike features or exaggerated realism. Kemono fursuits are ideal for fans who enjoy a blend of adorable and fantastical character design.
Tools and Materials You’ll Need
Starting your DIY Kemono fursuit project begins with assembling the right tools and materials. Here's a basic list:
Essential Tools:
- Scissors (fabric and utility)
- Hot glue gun and glue sticks
- Sewing machine (optional but useful)
- Needles and thread
- X-Acto knife or box cutter
- Markers or chalk for marking patterns
Materials:
- 2" thick foam padding for shaping the head
- Faux fur (variety of colors/textures)
- Buckram or mesh (for eyes)
- Plastic domes or pre-made eyes
- Elastic bands or straps
- Fleece or minky for tongues, paw pads, etc.
- Plastic mesh or balaclava (for the head base)
Step-by-Step Beginner Kemono Fursuit Tutorial
Let’s walk through the complete process of creating your Kemono fursuit head, which is usually the most detailed and character-defining part of the costume. This beginner Kemono fursuit tutorial breaks down each stage clearly.
Step 1: Designing Your Character
Your DIY journey starts with a character concept. Whether it's an original fursona or a tribute to a favorite anime creature, sketching your design helps you plan fur colors, patterns, and facial features. Consider these design elements:
- Species (fox, cat, dragon, hybrid?)
- Eye shape and color
- Ear size and placement
- Muzzle length
- Fur color palette
MeowFursuits recommends starting simple. Fewer colors and a basic shape make the build more manageable for beginners.
Step 2: Building the Head Base
There are two main methods: balaclava-based and bucket-head style using foam. For beginners, foam is easier to shape and modify.
- Begin with a solid foam block or assembled foam pieces glued together.
- Roughly carve the head shape using scissors or a knife. Carve out space for the jaw, cheeks, and forehead.
- Carve out the eye sockets. Ensure there's enough room to add the large Kemono-style eyes later.
- Attach foam pieces to shape the cheeks, ears, and muzzle. Use reference photos to guide symmetry.
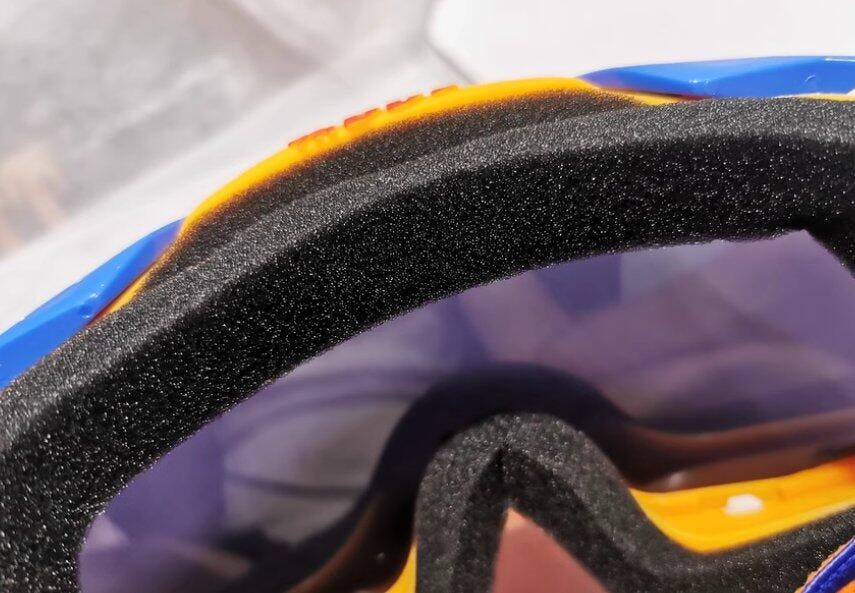
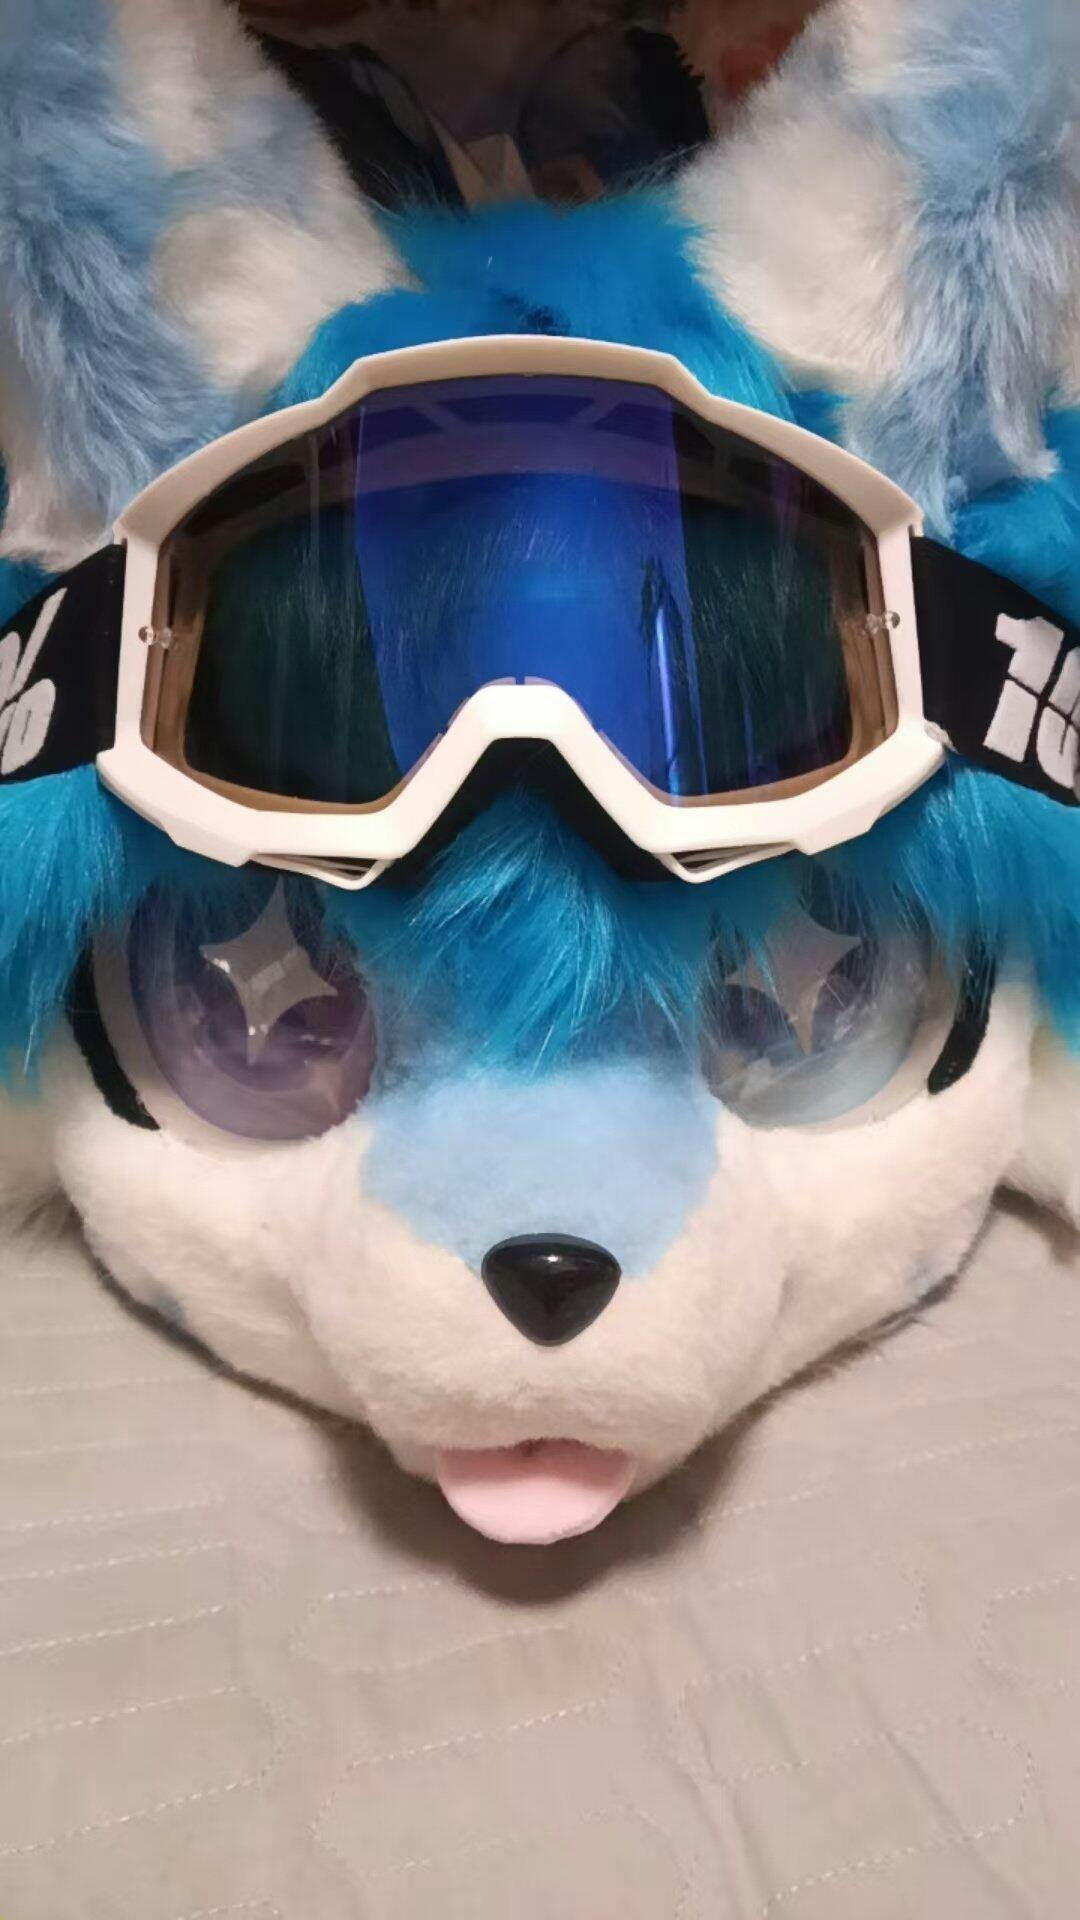
Step 3: Crafting the Eyes
Kemono fursuit eyes are critical to capturing the anime-inspired look. The eyes are the emotional centerpiece of any Kemono fursuit, and getting them right is essential to achieving the distinct, anime-inspired aesthetic that defines the style. Oversized, expressive, and full of personality, Kemono fursuit eyes are often the first thing people notice—making them a key feature that can elevate your suit from basic to breathtaking.
- Use plastic domes or half-spheres for a 3D effect.
- Draw and cut the iris and pupil designs on buckram or mesh.
- Secure the iris behind the dome and glue it into the eye socket area.
- Use eyeliner-style black borders to enhance the anime look.
Step 4: Furring the Head
This step transforms your foam sculpture into a lifelike Kemono character. Furring is the stage where your project truly comes to life—transforming the bare foam structure into a soft, vibrant Kemono character full of charm and personality. This step gives your fursuit its final texture, color, and visual identity, turning it from a blank form into a finished creation that closely resembles your original design sketch.
- Make a duct tape pattern by wrapping the head and drawing fur panel lines.
- Trace the pattern pieces onto the back side of faux fur. Remember to flip for symmetry.
- Cut and sew the fur panels. Use hidden seams and test fits.
- Glue the fur panels onto the head base. Start with the face and work backward.
Step 5: Adding Final Details
This is where your Kemono fursuit gains personality. The final detailing stage is where your Kemono fursuit truly takes on its unique personality and charm. After all the major components are in place, these small but impactful additions—like a playful tongue, sharp fangs, or securely positioned ears—bring your character to life and give it that finished, polished appearance. It's also the point where function meets flair, combining comfort adjustments with expressive flourishes.
- Add a fleece or minky tongue
- Insert teeth or fangs (foam or resin)
- Attach ears using hidden wire or foam supports
- Secure an adjustable strap or helmet inside for wearing stability
Kemono Fursuit Making Tips from MeowFursuits
Through years of experience helping fursuit makers, we've gathered some crucial DIY Kemono fursuit tips:
1. Always Plan Your Build
Before you even pick up a pair of scissors, take time to sketch out your character concept clearly. Define the species, colors, facial expressions, and any accessories you want to include. Create a full checklist of materials and tools, so you’re not scrambling mid-project. Planning ahead allows you to visualize the entire process and catch design issues before they cost you time or money.
2. Test Eye Visibility
Kemono-style eyes are large and decorative—but they also need to be functional. Most creators use buckram or mesh for the iris area to allow vision. As you build the foam head, keep testing where your actual line of sight will fall. Misaligned eyes not only reduce comfort but can be unsafe at crowded events. Don’t wait until the furring stage to realize you can’t see properly.
3. Use a Mannequin Head
Balancing the head while carving and furring is much easier with a mannequin head. It helps keep the shape consistent, lets you check angles more easily, and offers a stable base to work on. If you don’t have a mannequin, consider creating a temporary stand or foam prop that mimics the shape and size of your own head.
4. Don’t Skimp on Glue
Hot glue is your primary adhesive for attaching foam and fur, but it must be used wisely. Apply enough glue to hold materials securely—especially at stress points like seams, muzzle edges, and eye sockets—but avoid applying it too thickly. Using too much glue can lead to it leaking through the fur, creating bumps, or leaving visible marks. Use a small silicone spatula or popsicle stick to smooth it out as you go.
5. Trim Fur Strategically
One of the secrets to giving your fursuit a polished, professional look is careful fur trimming. Use pet clippers or barber-style trimmers to thin down fur around the face, especially on the muzzle, cheeks, and eyebrow area. This helps highlight facial contours and enhances the signature expressive look typical of Kemono-style characters. However, trimming too short or unevenly can’t be undone—so always practice on scrap fur and work slowly.
Optional Add-ons: Beyond the Head
After successfully completing your Kemono fursuit head, many DIY makers choose to expand their project into a full or partial suit to bring their character to life. While the head is often the most complex and expressive part, the additional components—paws, tail, and bodysuit—enhance the overall presence and allow for more immersive cosplay or performance. These add-ons also give you the freedom to express your character’s personality through body language, movement, and silhouette.
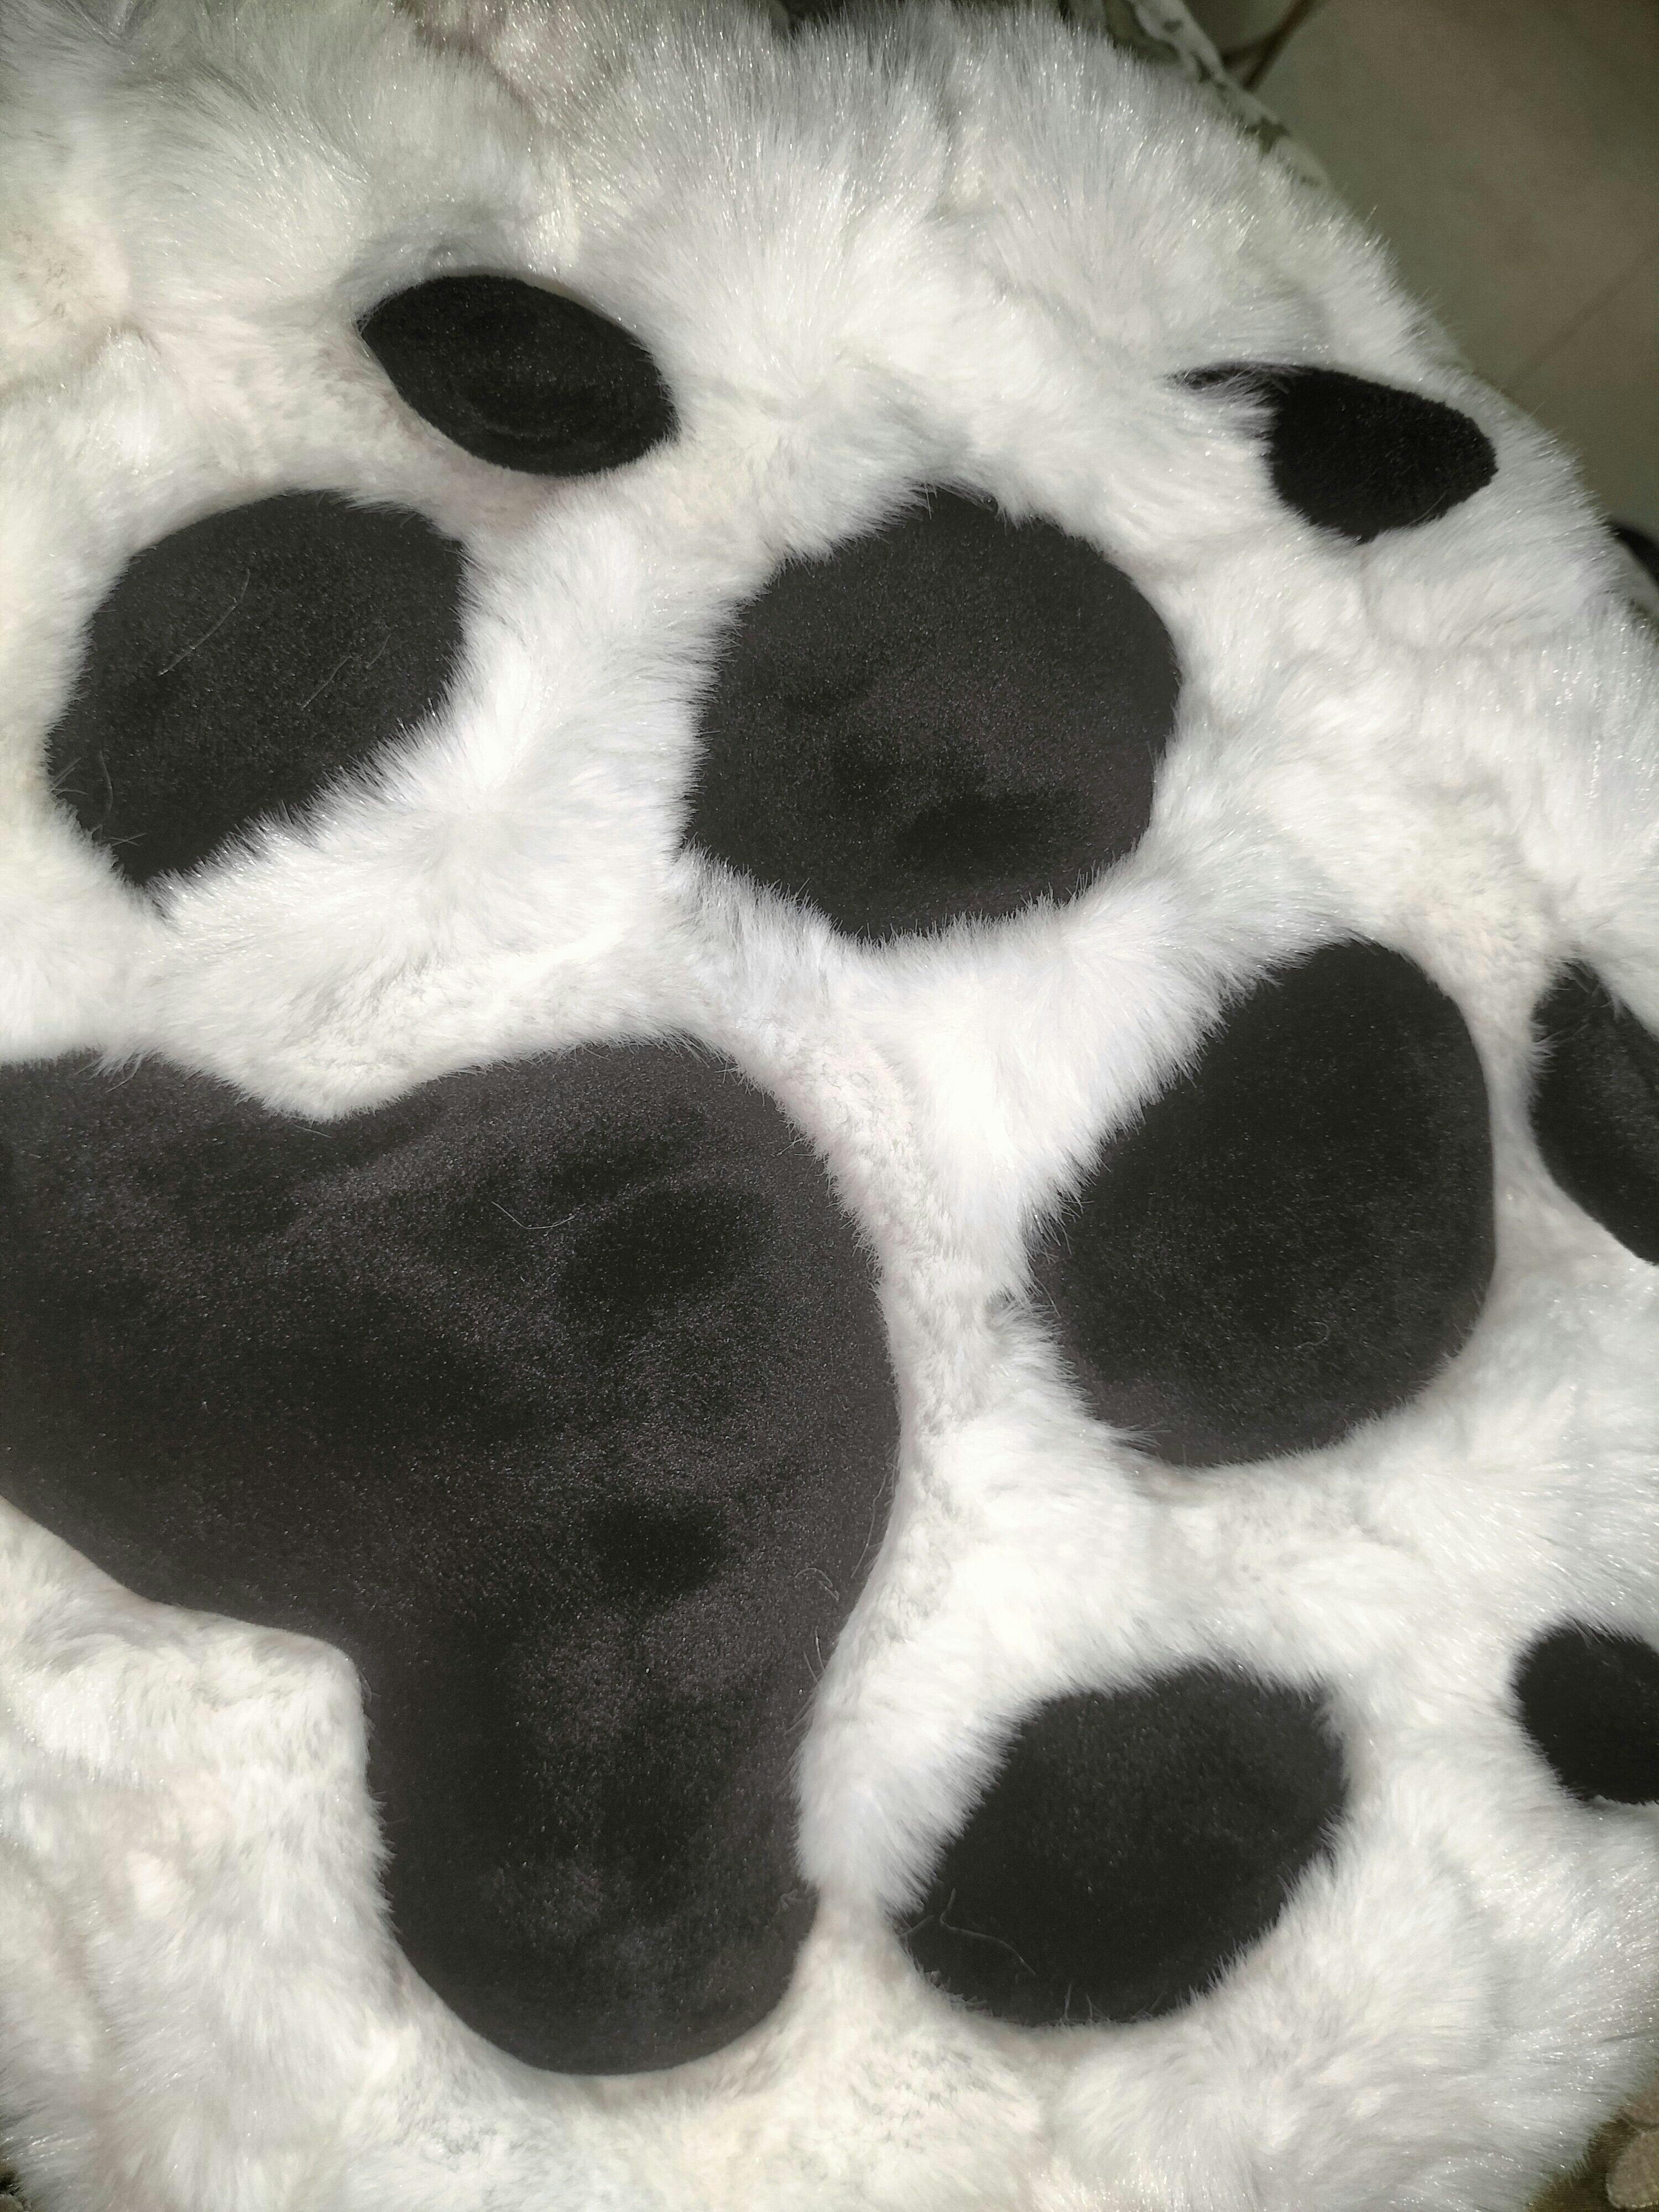
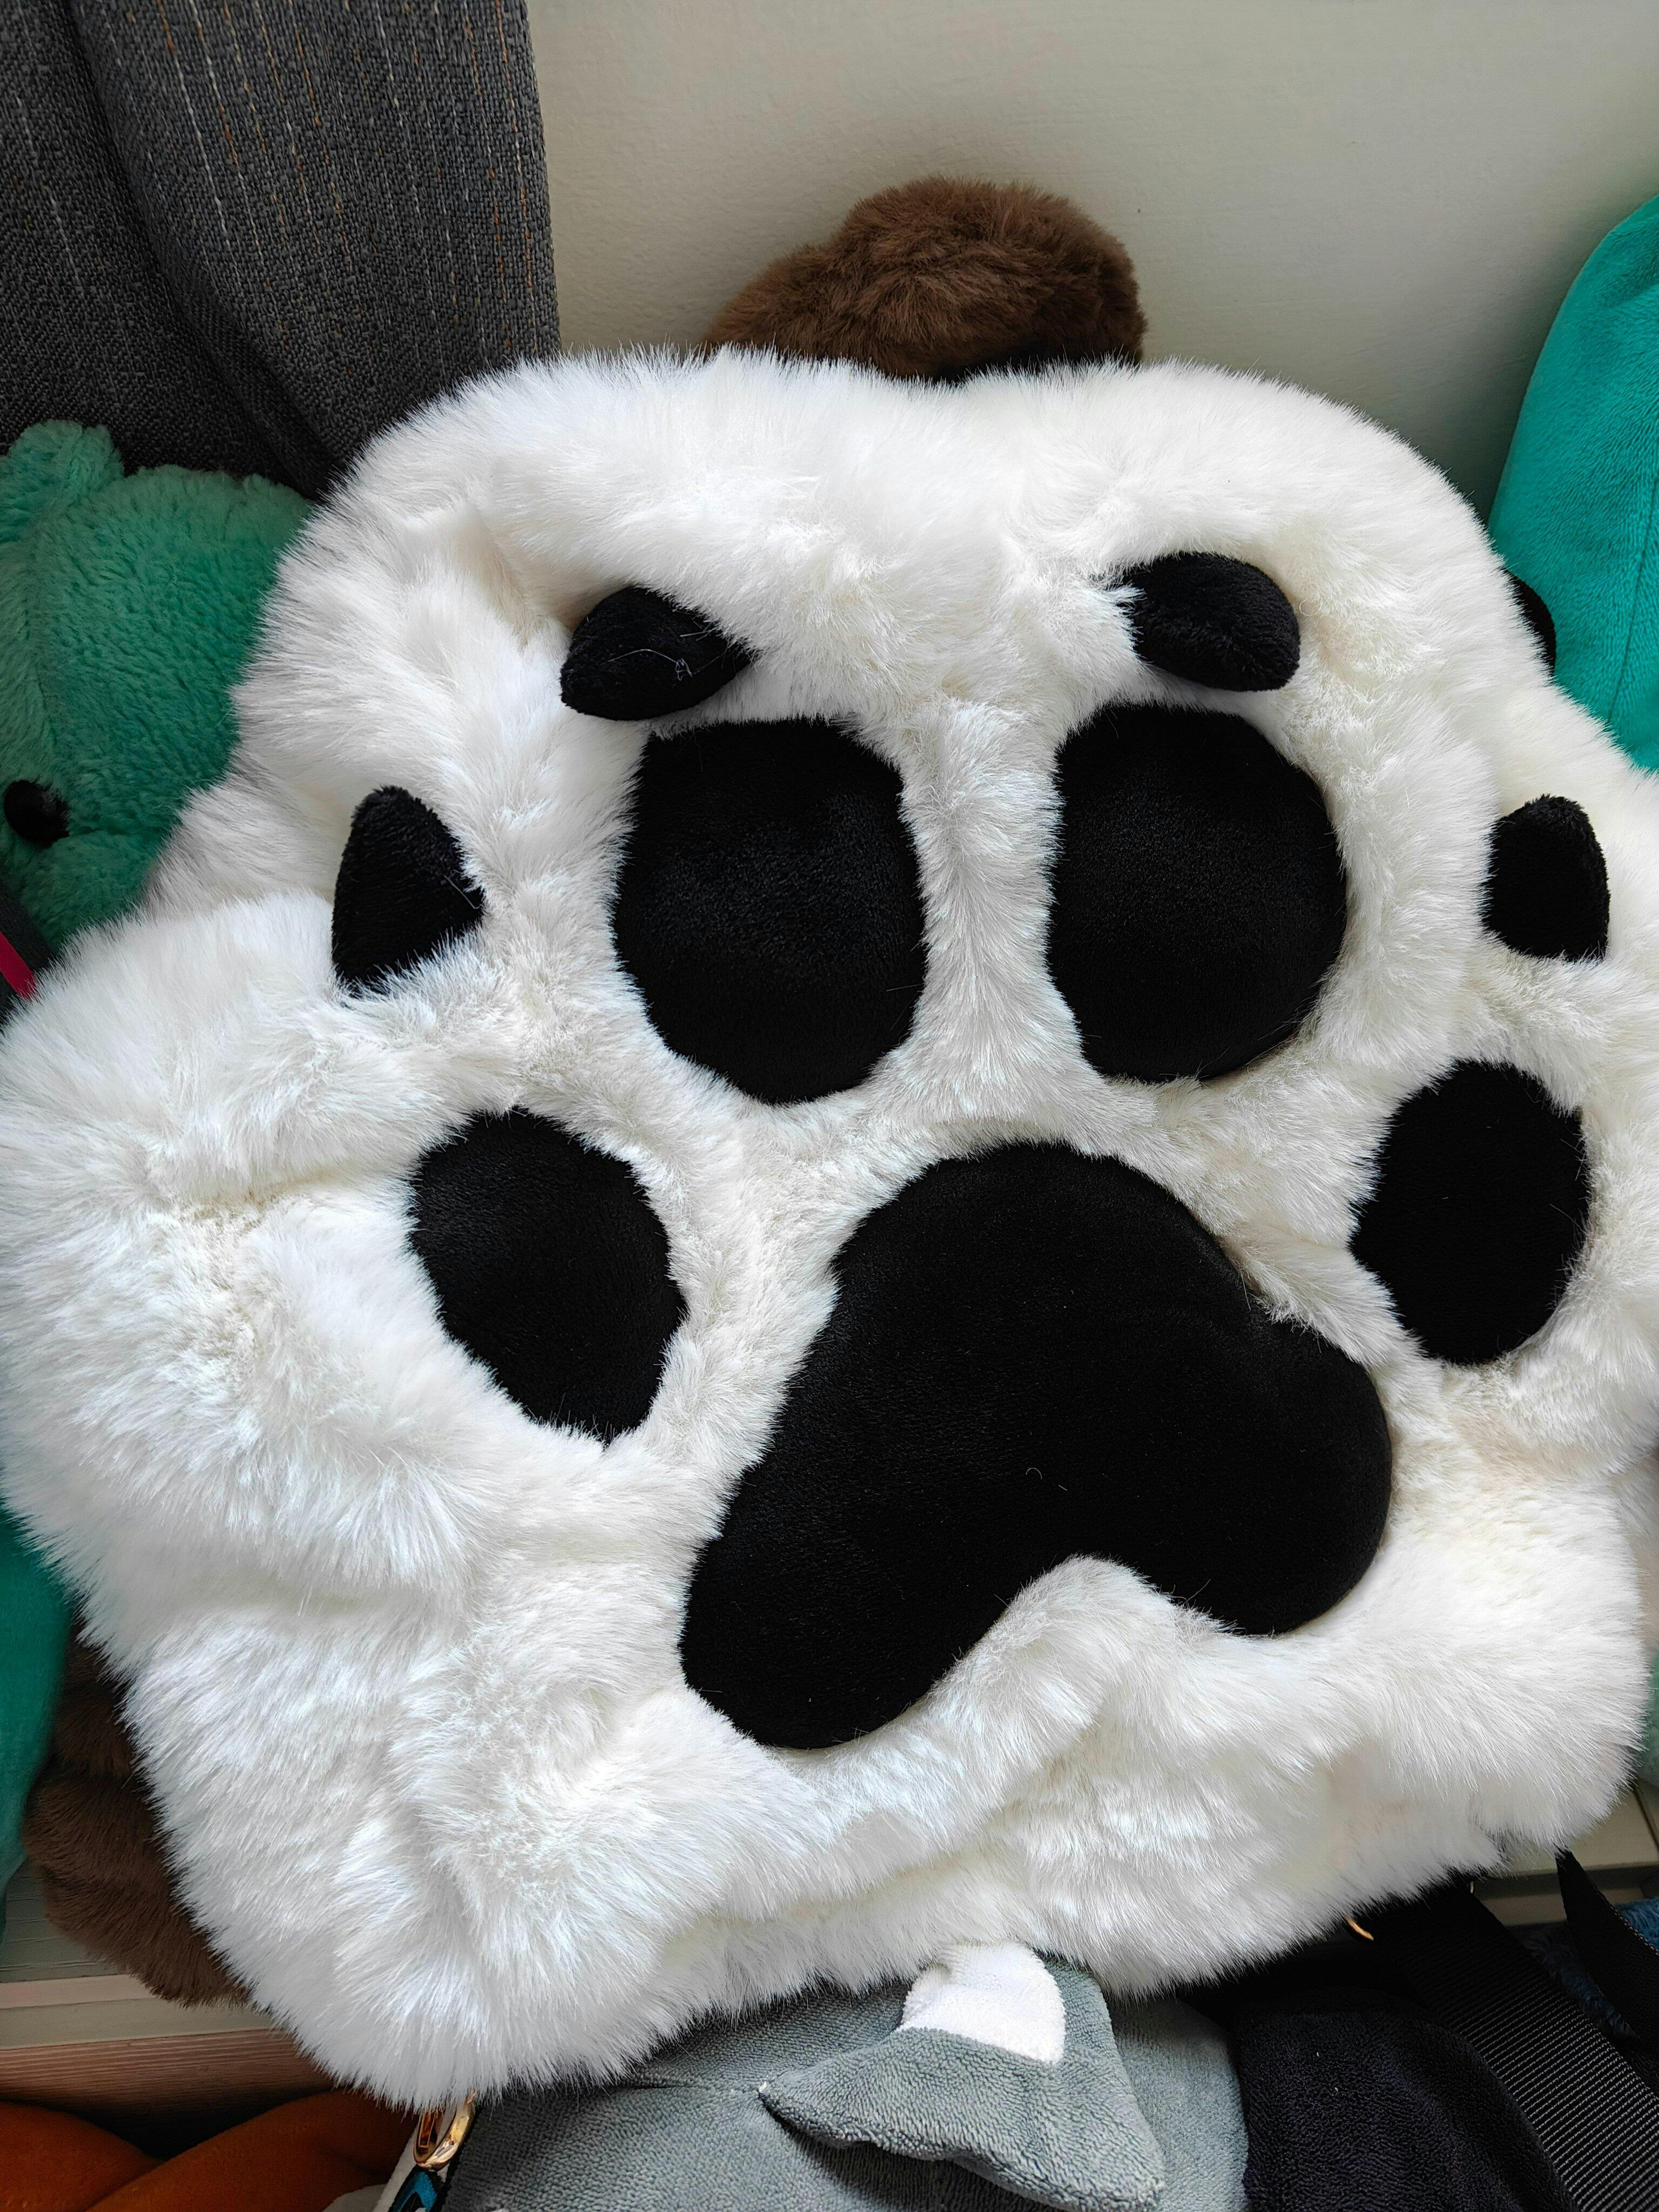
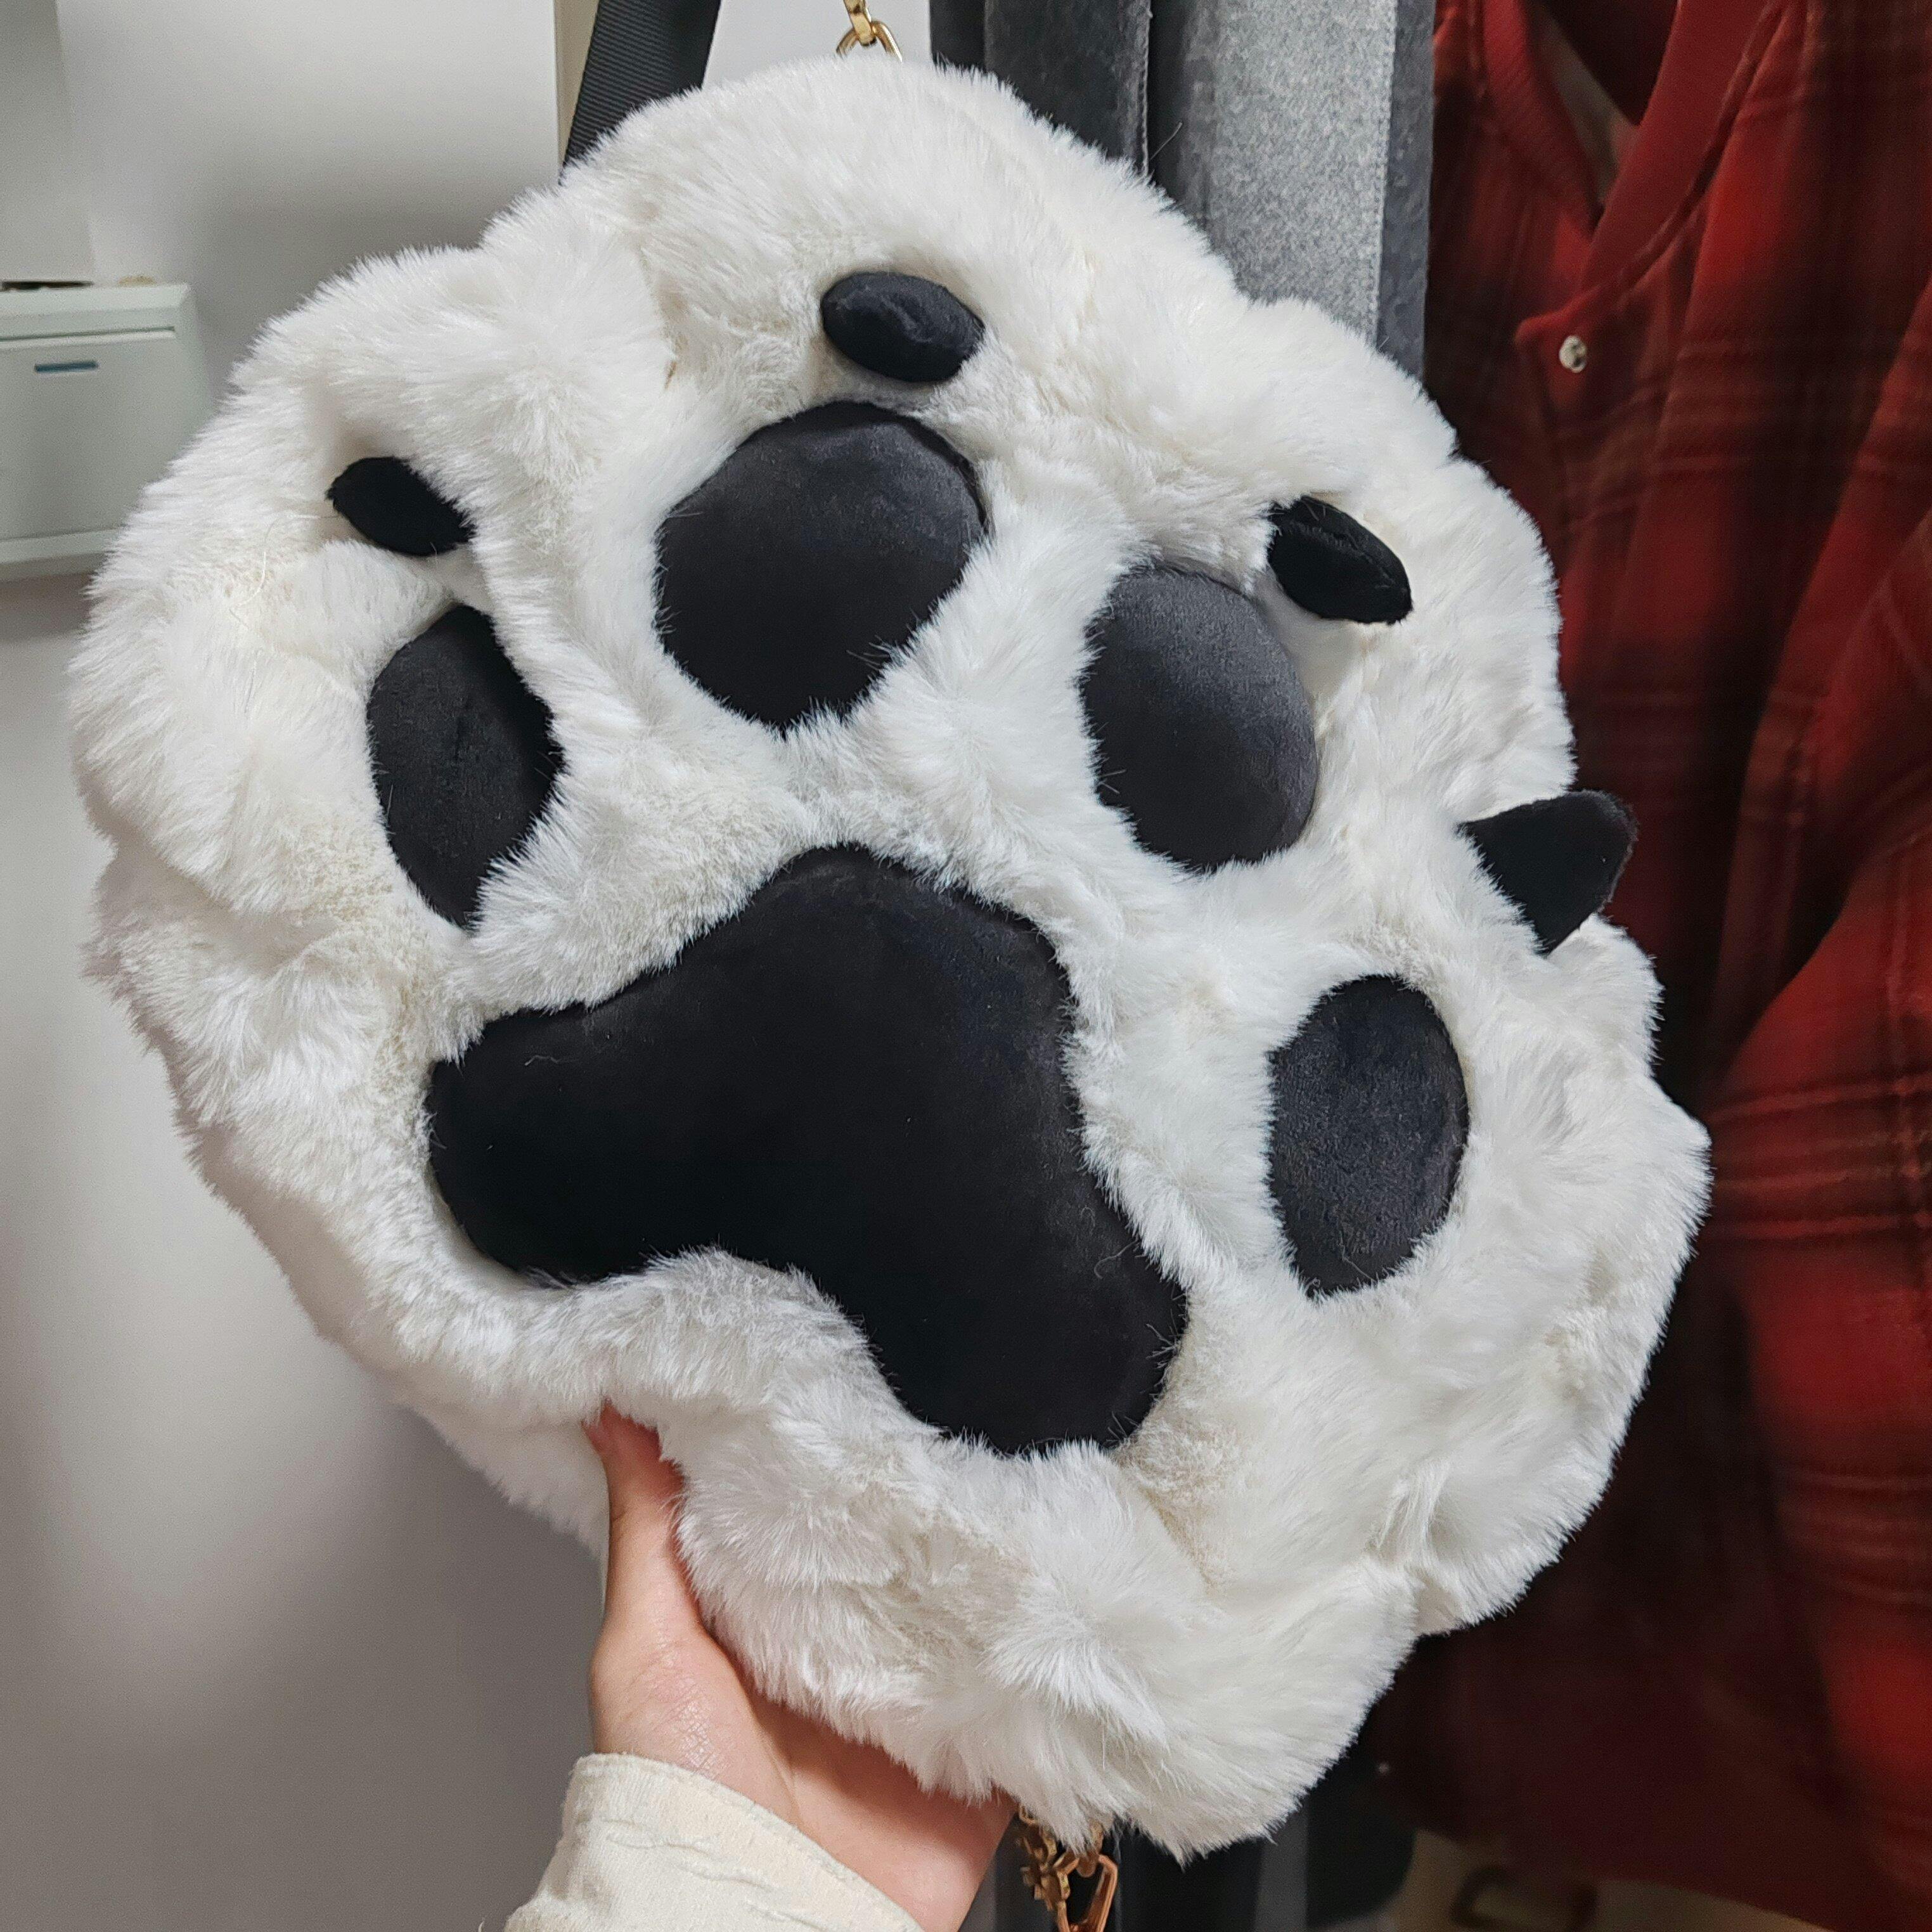
Paws:
- Use soft fleece or minky for paw pads
- Add stuffing for chubby anime-style paws
- Include claws or stylized nails for expression
Tails:
- Use a wire or foam core
- Match fur texture to the suit
- Attach with belt loops or safety pins
Bodysuit:
- Consider a duct tape dummy (DTD) to pattern fit your body
- If you prefer the soft, rounded look of a chubby Kemono silhouette, go with digitigrade padding.
Common Beginner Mistakes to Avoid
- Rushing the Design Phase: Jumping into building without a solid plan often leads to wasted materials.
- Overcomplicating Patterns: Keep fur patterns simple for your first suit.
- Using Low-Quality Fur: Cheaper faux fur can mat quickly and won’t hold shape well.
- Improper Eye Alignment: Misplaced eyes can distort the entire expression.
Why DIY with MeowFursuits?
At MeowFursuits, we believe that DIY Kemono fursuits are more than costumes—they’re expressions of creativity and identity. We offer high-quality materials, pre-made parts for beginners, and ongoing support through tutorials and community forums.
Whether you're building your first head or planning a full-body suit, our mission is to empower your DIY journey with reliable information, practical tools, and helpful guidance. When you DIY with MeowFursuits, you're never crafting alone.
Final Thoughts
Building a Kemono fursuit from scratch is a fun and highly satisfying journey. While it may seem daunting at first, breaking the project down into manageable steps makes the process approachable, even for first-timers. With the right mindset, tools, and tips, you can bring your Kemono character to life and wear it with pride.
Whether you're diving into DIY Kemono fursuit making for fun, cosplay, or self-expression, MeowFursuits is here to help every step of the way. Happy crafting!